Why sand is used for lawn leveling
Sand is a common topdressing material because it drains well, works down through grass blades, and is easy to find at landscape suppliers. For shallow dips—think tire ruts, settling after irrigation repairs, or small frost heaves—sand can smooth a yard without heavy machinery.
Sand is not a magic fix for every grade problem. Deep holes, slope that sends water toward the foundation, or hardpan compaction usually need soil work, equipment, or a pro.
When sand is a good choice
- Low spots under about ½–1 inch deep after mowing short
- Lawns with decent drainage already
- Cool- or warm-season turf that is actively growing
- You can apply thin layers and wait between passes
Skip pure-sand DIY if water pools against the house, if dips are deeper than a couple of inches, or if your soil is already extremely sandy and nutrient-poor.
Pick the right sand
Mason sand (fine, washed) is the usual DIY pick: spreads easily and settles between blades.
Coarse or “sharp” sand can improve drainage in mixes but feels gritty alone.
Avoid beach sand (salt) and ultra-fine play sand that can seal and stay soggy.
Many lawns do best with a 50/50 mason sand + screened topsoil or compost blend: leveling power plus some nutrition and structure.
Tools you will want
- Lawn leveling rake (wide aluminum bar with a flat edge)
- Wheelbarrow or yard cart
- Flat shovel
- Garden hose with a gentle spray
- String line or long straight board + level (to find dips)
- Optional: core aerator first if thatch or compaction is heavy
Step-by-step process
1. Mow short and mark dips
Cut the lawn shorter than usual (without scalping). Walk the yard after rain or irrigation—standing water and soft spots show where to work. Mark with flags or spray dots.
2. Fix the big stuff first
Fill holes deeper than an inch or two with soil mix and compact lightly before any sand topdress. Sand alone in a deep void will keep shifting.
3. Mix and stage material
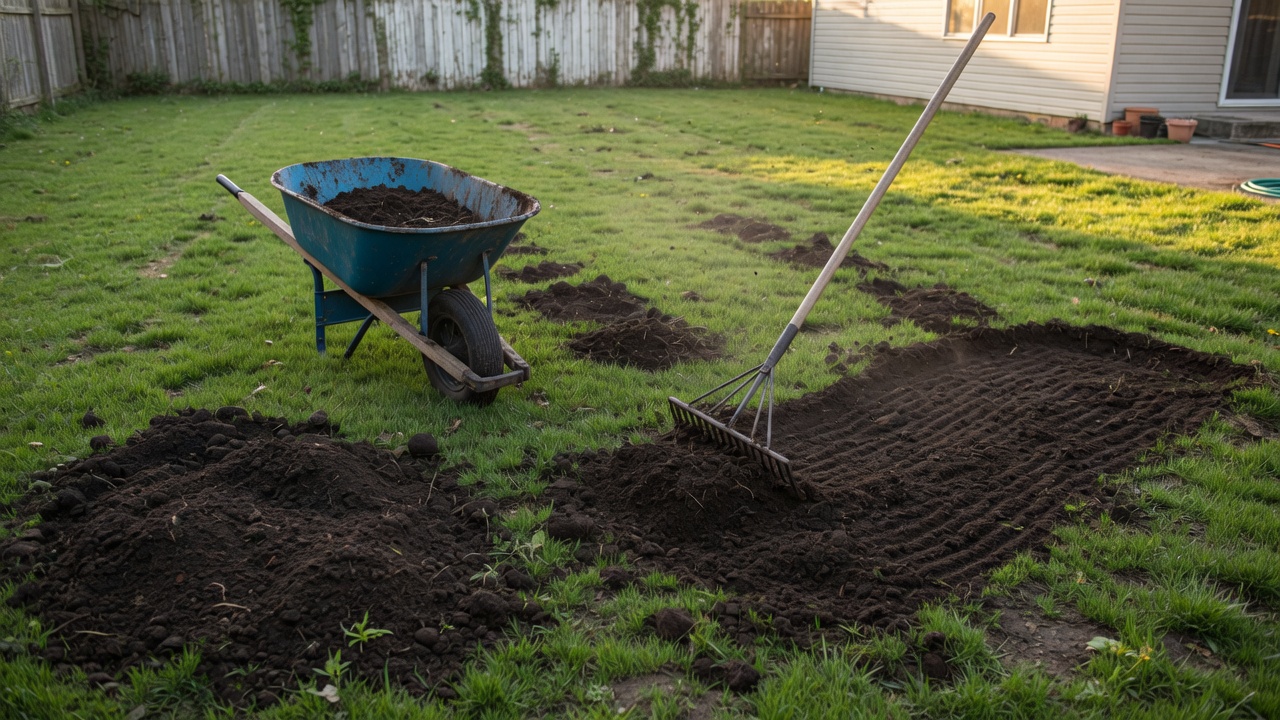
For most yards, blend sand with topsoil outdoors so you do not dump pure sand in thick blankets. Start with less volume than you think you need; thin layers win.
4. Apply a thin layer only
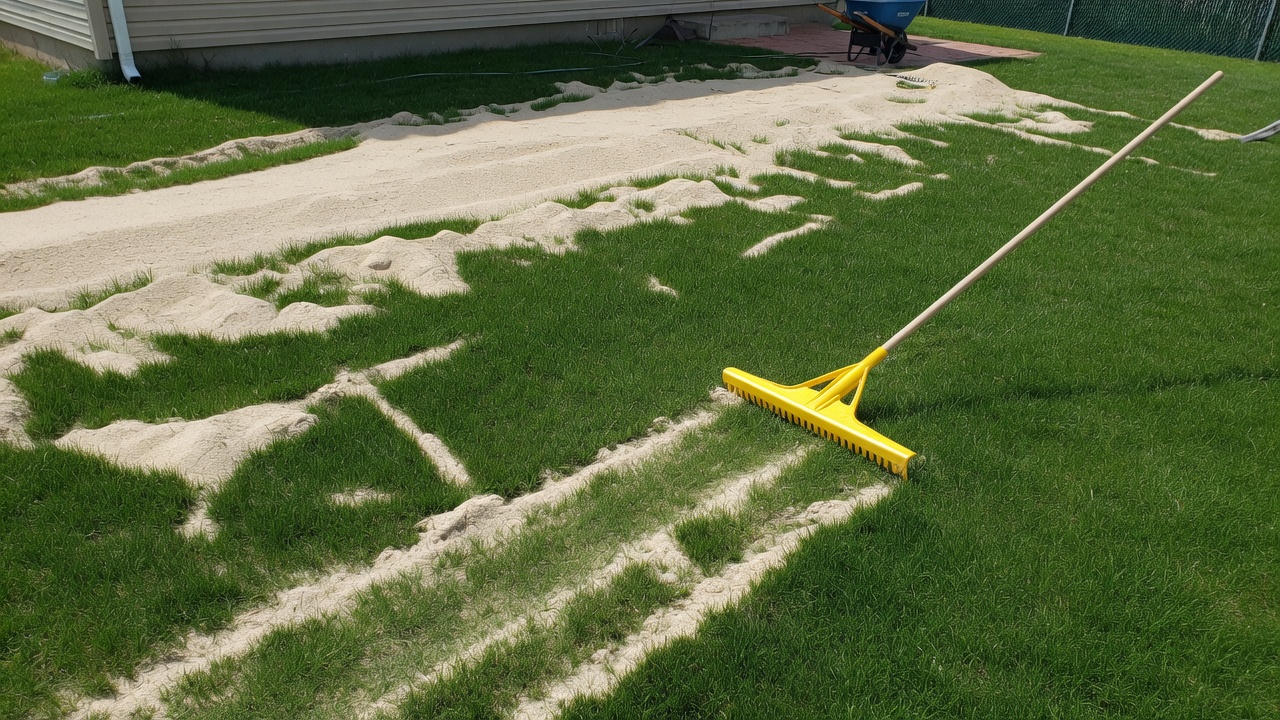
Target no more than about ¼–½ inch over the turf at a time. Smothering the crown kills grass and invites disease.
5. Rake to grade
Pull the leveling rake in long, overlapping passes. Use the flat edge to move material from high micro-ridges into lows. Step back often and sight down the lawn.
6. Water lightly
A light irrigation settles fines into the canopy. Do not flood the area into mud.
7. Grow and repeat
Wait 2–3 weeks of active growth. Re-check dips and apply another thin pass if needed. Patience beats one thick dump.
How much material?
Rough rule of thumb: area (sq ft) × depth (inches) ÷ 324 ≈ cubic yards.
Example: 500 sq ft at ¼ inch ≈ 0.4 cubic yards before waste. Order 10–15% extra.
Common mistakes
- Dumping more than ½ inch in one go
- Using salty or dirty fill
- Leveling while grass is dormant and cannot push through
- Ignoring slope toward the foundation
- Skipping aeration on thatchy lawns
When to call a pro
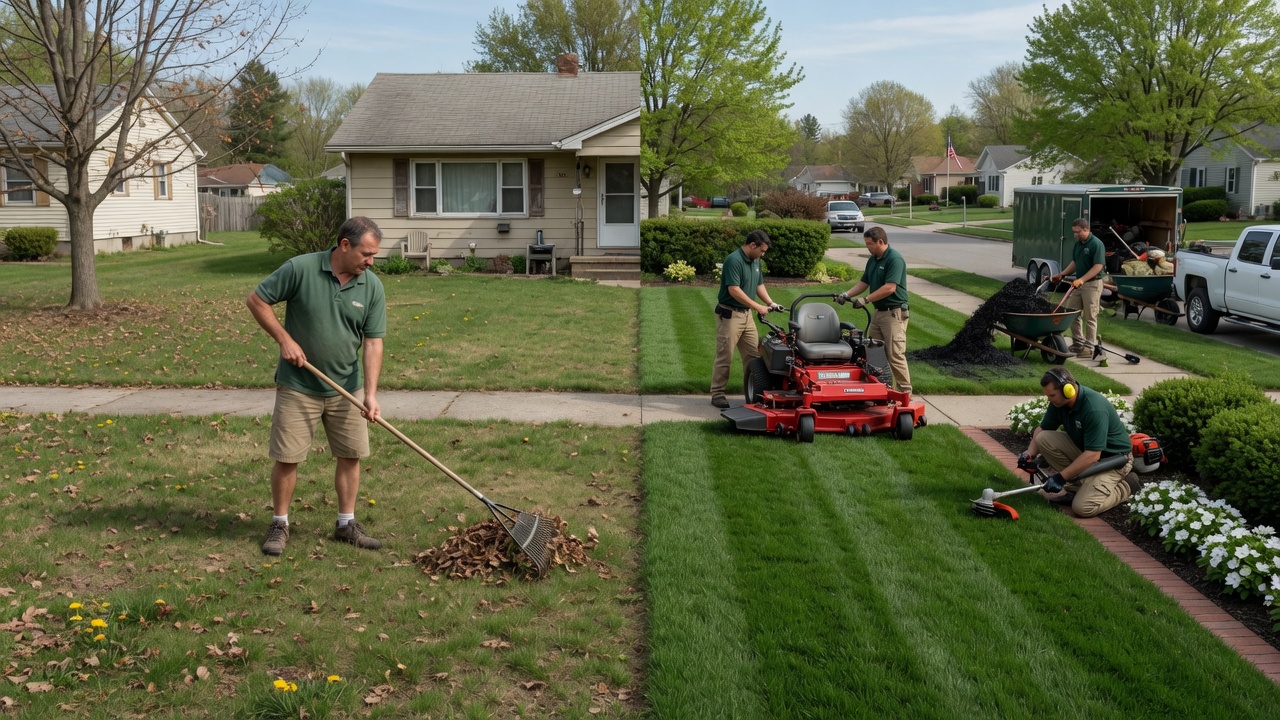
Hire help for major regrading, French drains, retaining edges, or large equipment compaction. Local specialists can also match mix to your soil type and climate.
Next steps
Browse lawn leveling listings near you on LawnLeveling.com, or request free quotes if you would rather have crews assess the grade on site.